Share this:


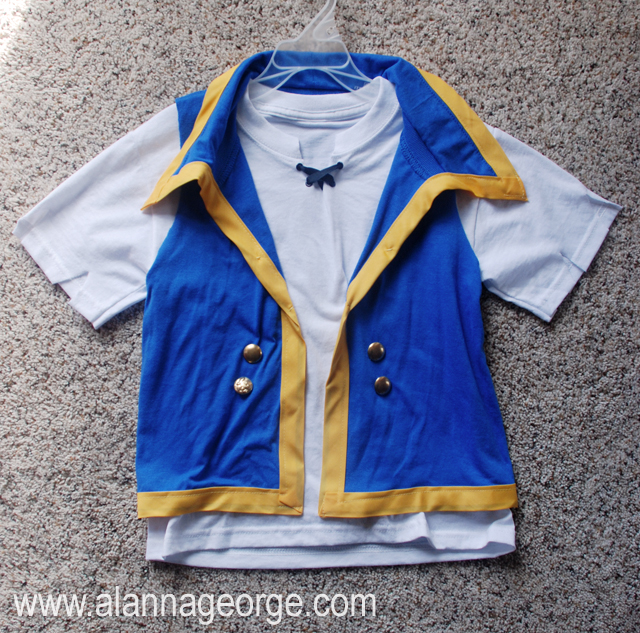
Earlier this year we went on a Disney cruise. It was a blast and I highly recommend it, but this post is about how to sew your own Jake and the Never Land Pirates costume. I will have to tell you all about the cruise later, but they had a pirate night and we all dressed as pirates. My older son didn’t fit into any of the store bought Jake costume sizes, which seemed to only go up to size 3T, so I decided to make him a costume. Same for my daughter who wanted to be Izzy. No costumes for girls her age. Keep reading for instructions on making your own Jake and the Never Land Pirates costume! (My son on the left is wearing a store bought Jake costume…)
Supplies:
- Blue T-shirt
- White T-Shirt
- Red Fabric Bandana (I bought mine from Michaels for $2)
- Black Fabric
- Black Ribbon
- 7/8″ Golden Yellow Bias Tape
- 4 Golden or Brass Buttons
- Scissors
- Velcro
- Sewing Machine
- Thread
How To: – click on pics to see them larger
-
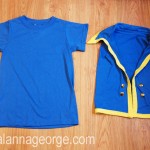
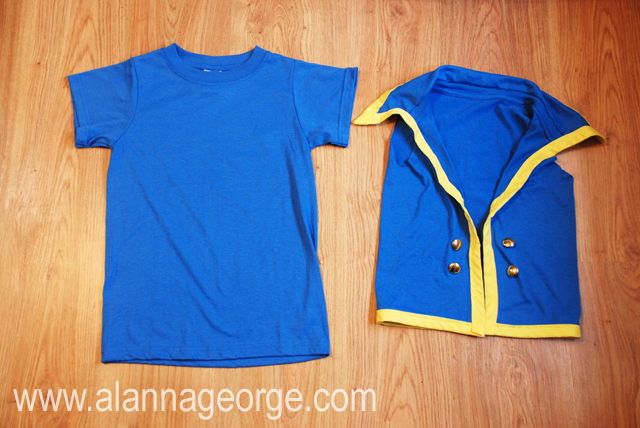
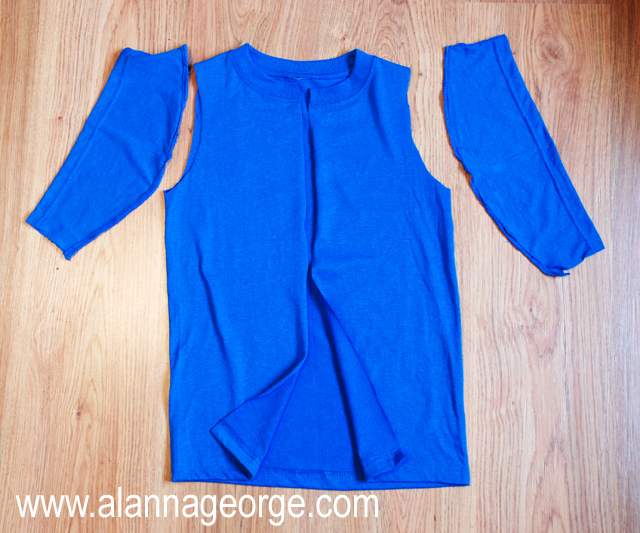
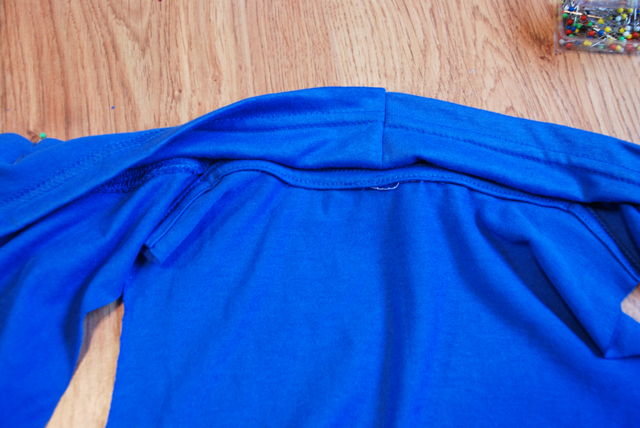
Lay your blue t-shirt out flat.
-

Make a cut up the center front of the shirt. Cut the sleeves off by cutting along the bottom seam and up around the arm seam.
-
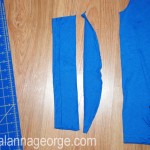
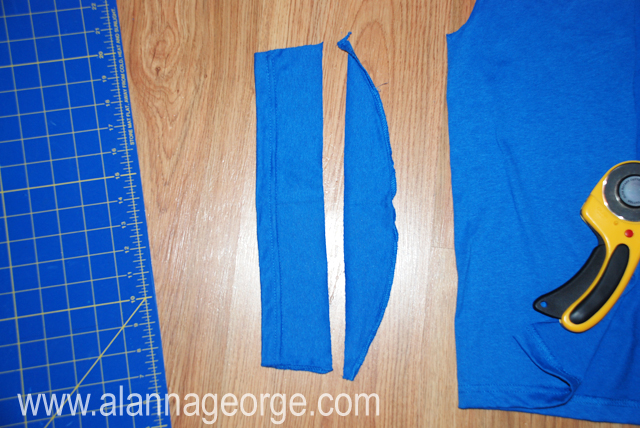
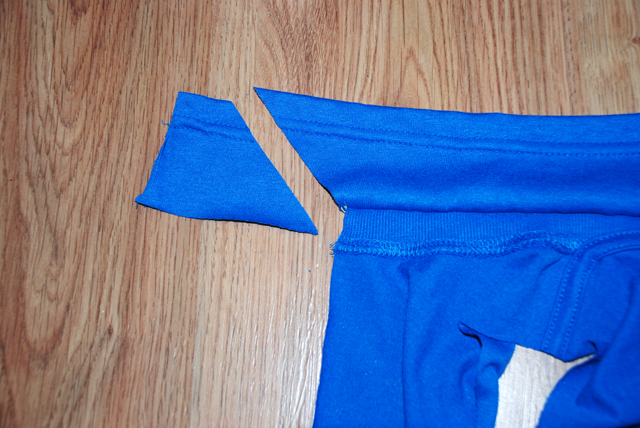
Trim each cut sleeve piece so it is an even rectangle.
-
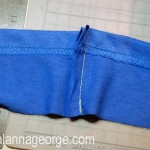
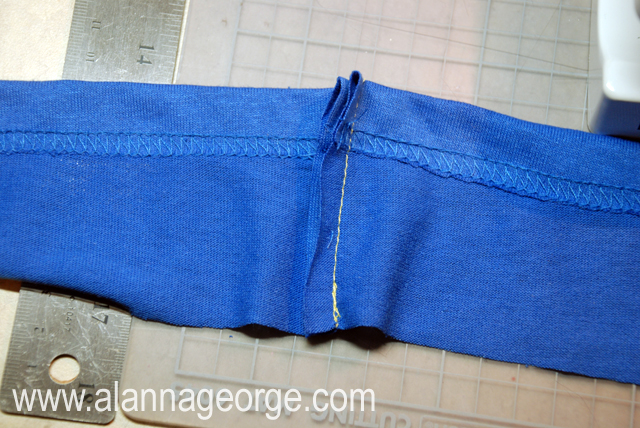
Using the two rectangle sleeve pieces, place them right sides together and sew them together to create one long piece. This piece will be used to create the collar.
-
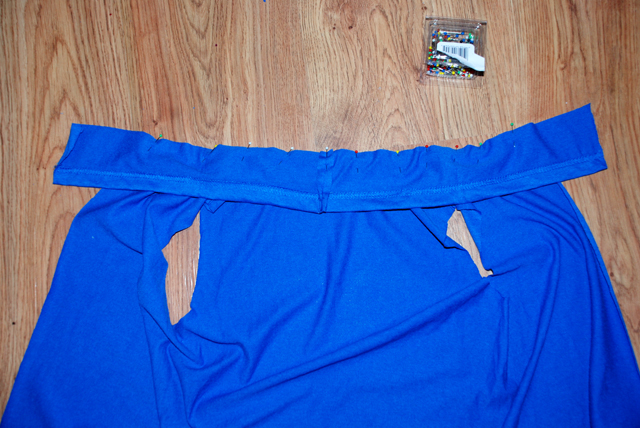
Open up your t-shirt. Pin the sleeve pieces you sewed together along the top edge of the t-shirt. Pin the right side of the sleeve strip to the inside (wrong side) of the t-shirt. Pin along the top edge.
-
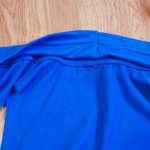
Another view of the collar pinned to the t-shirt edge.
-
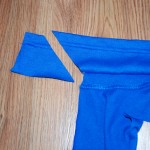
Sew along the top edge where you pinned. Lay the collar open flat. Trim off any extra length by cutting it at an angle.
-
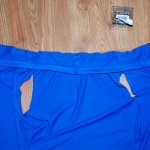
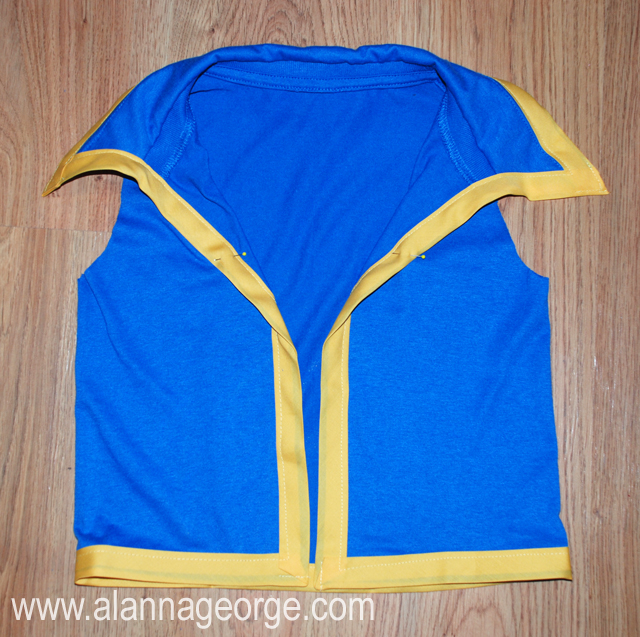
Insert the t-shirt edge into the center of the bias tape. Pin it as you go. The bias tape will go around all the unfinished edges, except the arm holes. Sew on the bias tape. Use the picture above as a reference for the way the collar lays. Sew a couple stitches to hold the collar folded in the correct spot.
-
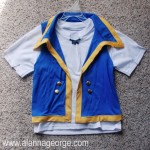
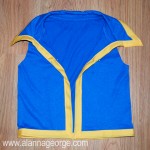
Sew on four buttons. The vest is finished.
- Using the white t-shirt, cut a short v-shaped cut in the center front of the t-shirt. Cut 4 holes and lace the black ribbon through in a criss-cross pattern. Knot both ends of the ribbon on the inside of the shirt. Cut v-shaped pieces out of the edges of the sleeve to create a ragged pirate look.
-
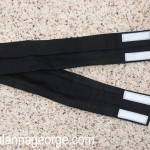
Create Jake’s belt using a black strip of fabric. Measure your child’s waist for how long it needs to be to wrap around. Make sure to leave enough length for the Velcro to overlap. Fold over and sew the entire outside edge of the belt fabric. Cut Velcro strips and sew onto the ends of belt.
-
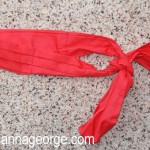
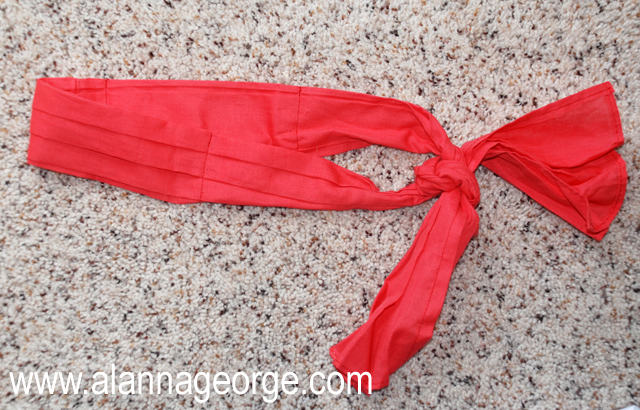
Using a red square bandana from Michaels, cut the fabric square in half. With right sides together sew the shortest sides together to form a long strip. Fold over and sew all the outside edges of the fabric. Next, create shallow folds along the entire vertical length and sew them down so the bandana has a pleated look.
- Wear your Jake costume for your own Pirate dress up day or for Halloween!

Thanks for this valuable suggestion. We live in India and is difficult to get Jake costumes here. Jake is not yet so popular. But my son loves him and insisted on having a Jake themed party with the costumes. I had almost given up when I came upon your site. I have made his costume and he is super excited about the upcoming party. Thanks once again
This idea is amazing to create a lot of costumes. I’m organizing a Junior Express party and those costumes seem to be avalaible only in Argentina. I will try to follow this idea to create all the characters. Thanks!!