Share this:

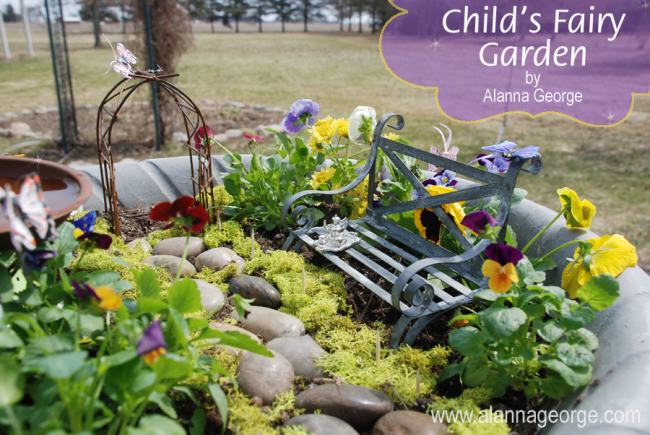
Warm weather is finally here! Planting flowers is my favorite way to celebrate Spring’s arrival. My daughters and I worked together to create this fairy garden in hopes that we get some magical visitors this summer. Do you think they will like the tea we left for them? This post first appeared for Darice on their blog – Live.Craft.Love
Darice has tons of miniatures and garden decor that are just perfect for fairy garden supplies. These are the supplies I used to make my fairy garden, but the possibilities are endless – get as creative as you’d like!

Supplies:
- Mini Garden Tin Bench
- Wire Mini Garden Arch with Door
- Wire Tin Mini Bird Bath
- River Rocks
- Painted Butterfly with Wire
- Miniature Potted Roses
- Miniature Tea Service
- Moss
- Assorted Flowers
- Gardening Tools
- Large Flower Pot with Soil
How To:
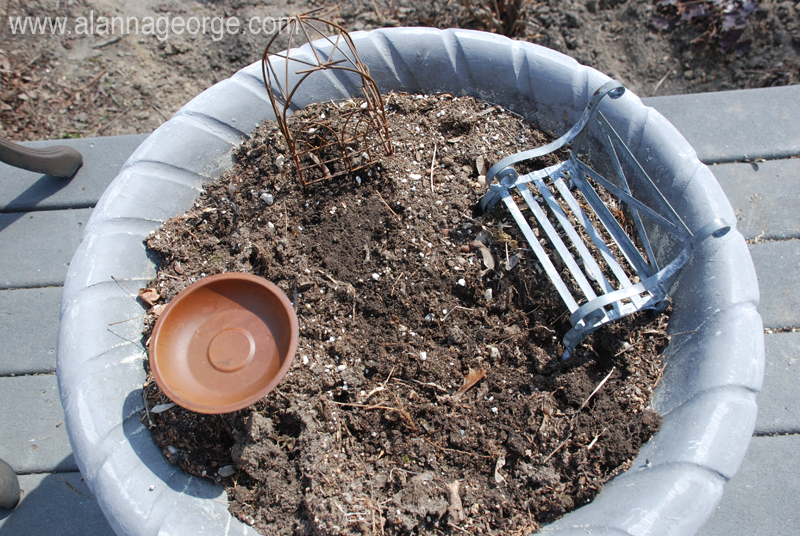
Step One. Place the bench, bird bath and arch in the large flower pot. Arrange them where you would like them to sit.
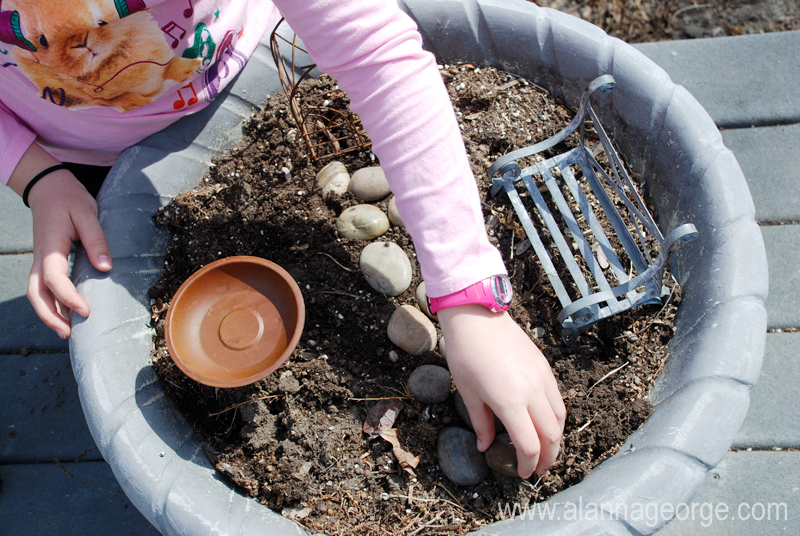
Step Two. Place the river rocks on top of the soil to create a garden path.
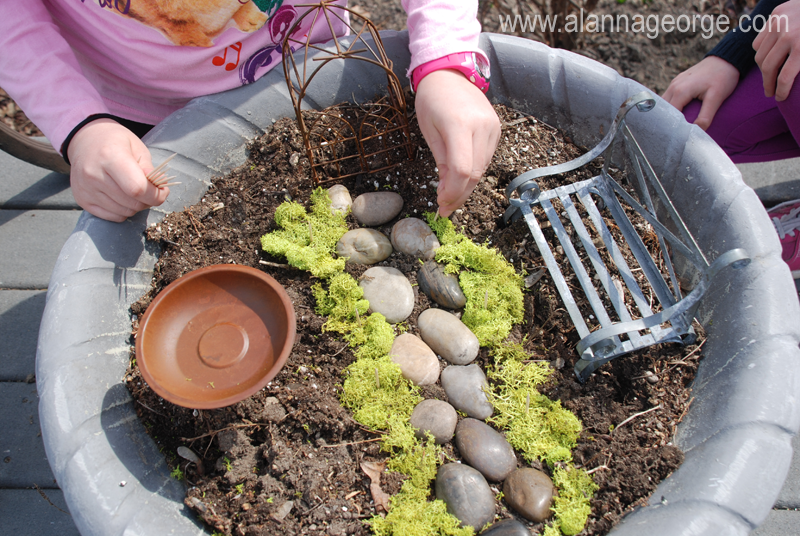
Step Three. Add the preserved moss along both sides of the rock path. We used toothpicks to hold our moss in place because it was a windy day.
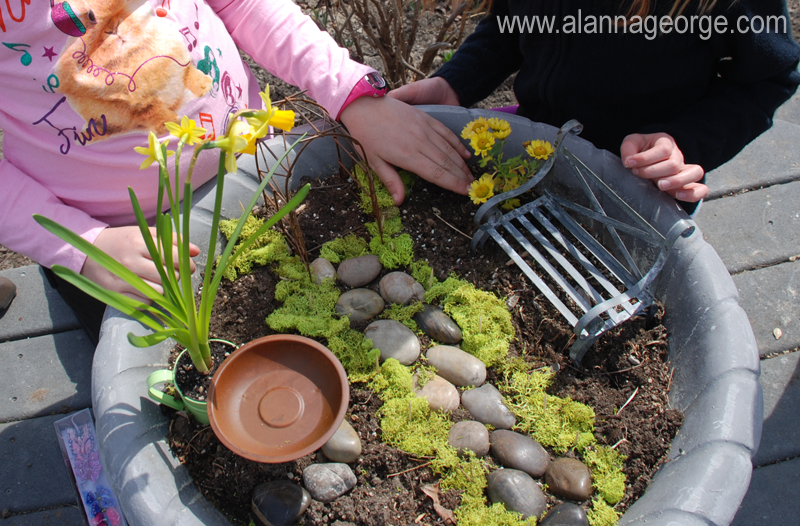
Step Four. Plant your assorted flowers in the dirt.

Step Five. Add the mini butterflies and tea service so your fairy friends feels welcome! Fill up your bird bath with water, and you’re done.
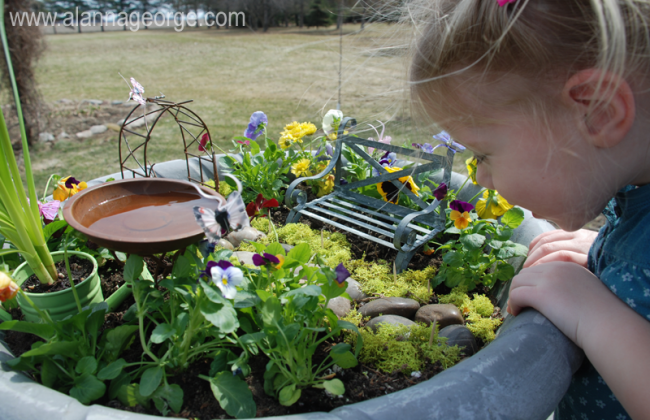
Now, how fun was that?! It’s so pretty and magical!
To make the fairy garden even more enchanting for your children, move the tea set around and remove some water from the bird bath. They will be surprised and so happy when they notice the fairies had a visit to their garden!