Follow Me

  • 
  • 
  • 
  • 
  • 
  • 
  • 
  • 

Alanna George | The Craft Nest

a craft site for families

  • Home
  • Shop
    • Checkout
  • Craft Projects
    • Birthday Projects
    • Children’s Sewing Projects
    • Christmas Projects
    • Clay Projects
    • Easter Projects
    • Fall Projects
    • Felt Projects
    • Halloween Projects
    • Jewelry Projects
    • Painting Projects
    • Recipes
    • Recycling Projects
    • School Projects
    • Sewing Projects
    • Spring Projects
    • Summer Day Camp Projects
    • Thanksgiving Projects
    • Valentine’s Day Projects
    • Wedding Projects
  • Craft Printables
  • Advent Crafts
  • Handmade Gifts
  • Young Living
  • Craft Swaps

How To | Bunny Party Tissue Paper Decorations

March 15, 2012 by Alanna George Filed Under: Birthday Projects, Easter Projects, How To, Paper Crafts, Printables, Spring Projects

Share this:

  • Email
  • Print
  • Tweet
  • Share on Tumblr

The best part of a birthday party surprise is planning the decorations. As I said in a previous post I do all my decorating when my kids are asleep, so the decorations have to be simple to hang up. My daughter was in love when she came downstairs on the morning of her birthday and saw these lovely tissue paper bunny fans hanging from the ceiling. Want to know how to make your own? Just follow the instructions below.

How To | Tissue Paper Party Decorations

Supplies:

  • Assorted Colors of Tissue Paper (I bought a pastel pack from Dollar Tree)
  • Embroidery Floss
  • 11×17 White Paper
  • Scissors
  • Double-sided Tape
  • Tissue Paper Bunny Head Download
  • Hot Glue Gun and Glue Sticks

How To:

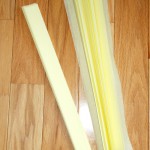
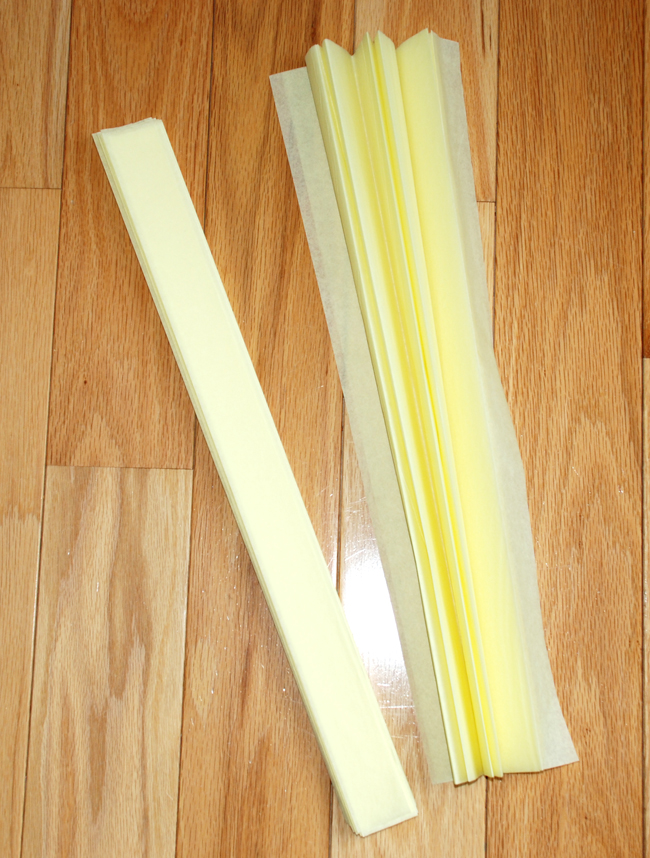
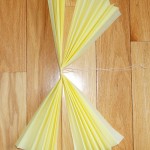
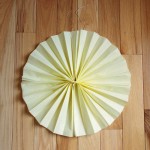
  1. You need four pieces of tissue paper to create one fan. Use two pieces together and fold them using an accordion fold. Fold the second two pieces together using an accordion fold.
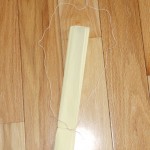
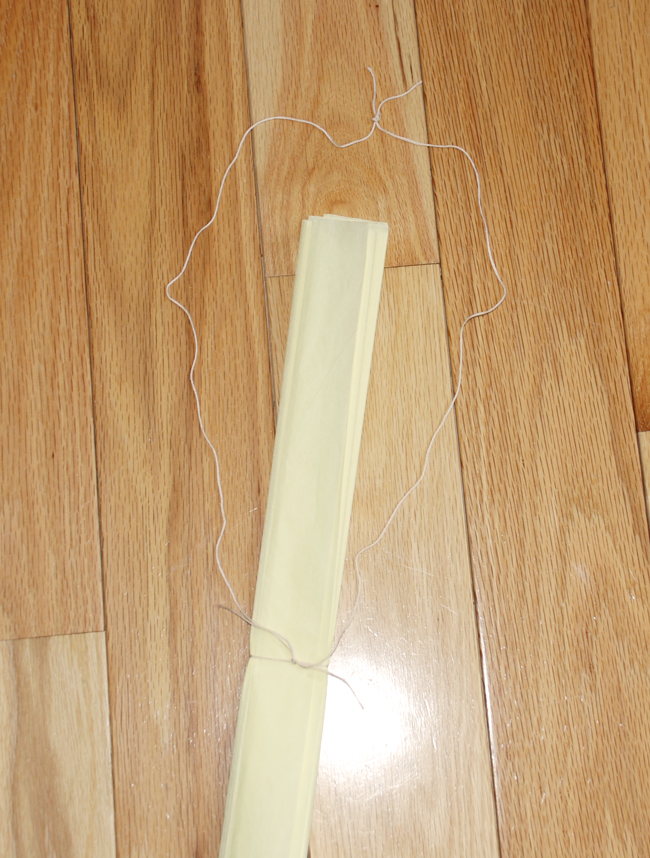
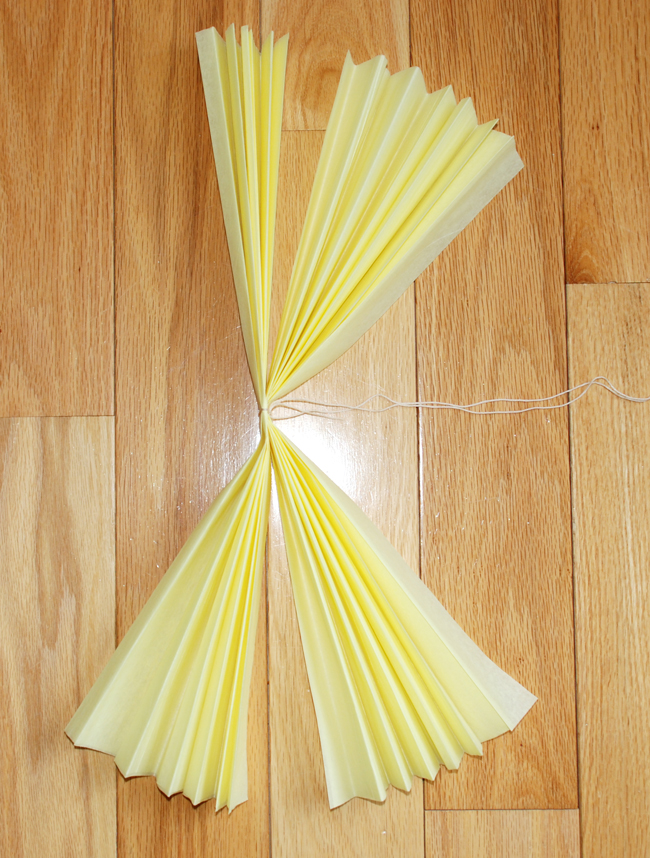
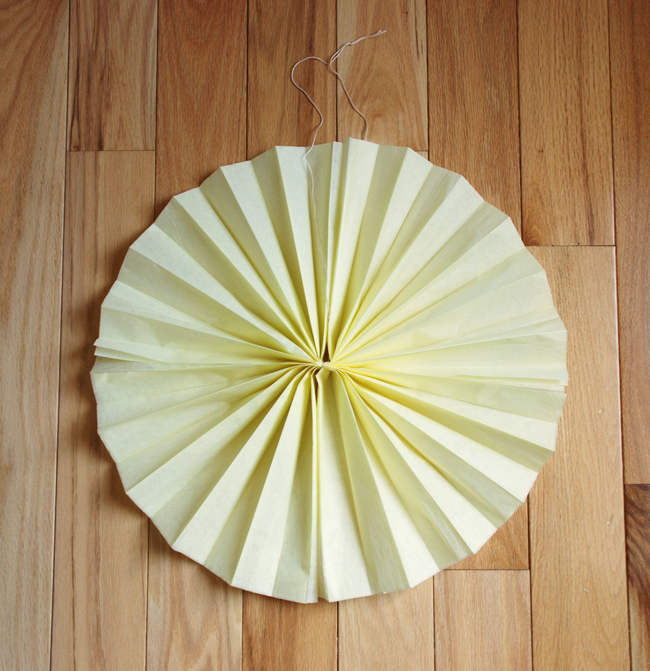
  2. Tie both sets of folded tissue paper together in the center using embroidery floss. Leave two long tails of floss and tie them together at the top. The tissue paper will attach together inside of this open loop and will be used to hang the fans.
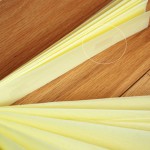
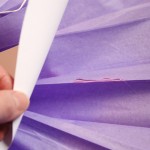
  3. You will have four different sections of tissue paper.
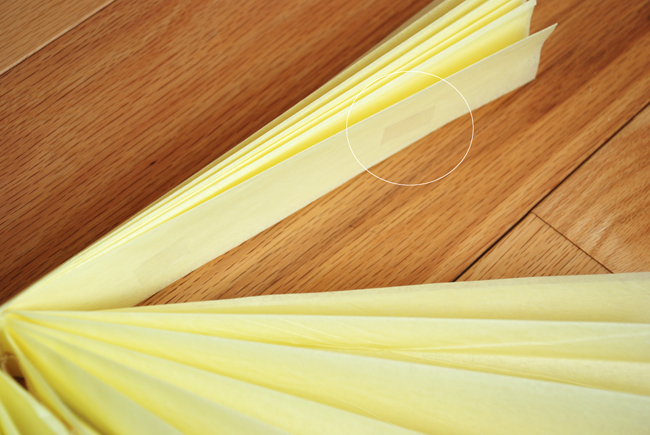
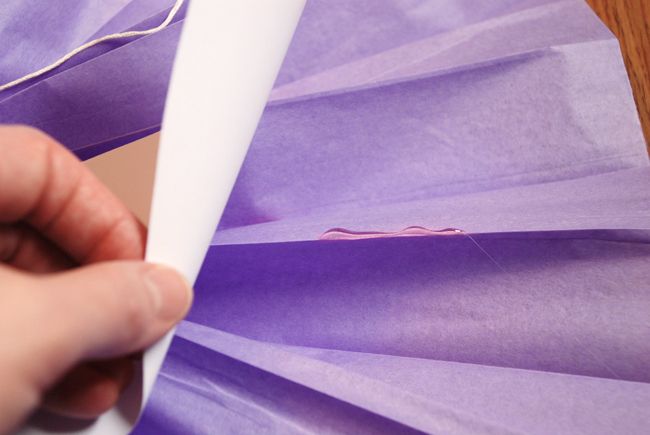
  4. Use pieces of double-sided tape to tape the sections together.
  5. Once all sections are taped together the fan will be a complete circle.
  6. Print off one bunny head shape from the file download (Tissue Paper Bunny Head). Use the one as a template to cut out multiple bunny heads. I like to staple multiple pieces of paper together and then cut them all out at once.
  7. Using a hot glue gun, glue the bunny heads onto the tissue paper fans. Put a bunny head on each side.
  8. Use the long thread to tape the tissue paper fans to the ceiling.


Step 1
Step 2
Step 3
Step 4

Step 5
Step 7

Free Download:

Click here – Tissue Paper Bunny Head

*(for personal use only)


Comments

  1. Silje says:
    February 10, 2014 at 11:36 am

    Hello.
    These look great!

    I have a question: do I use regular printing paper or do I get a thicker paper to print out the bunny heads on?

    Thanks!

    • admin says:
      February 10, 2014 at 7:28 pm

      I just used regular printer paper. But you could do a thicker cardstock if you like!

      Alanna

  2. tga says:
    March 19, 2014 at 11:20 am

    Thank you for providing a template for the bunny head. I will be making a bunny lantern for my decor.

Trackbacks

  1. HARİKA BİR TAVAN SÜSÜ — İNCİMİNCİ says:
    April 11, 2012 at 12:20 am

    […] yapılışına geçelim ve ayrıntılar için sizi alannageorge.com‘a […]

I love educating customers about safe oil usage for families!

Popular Posts

Summer Day Camp | Hula Hoop Hideout
How To | Solar System Mobile
Printable | Authentic Tooth Fairy Letterhead
Printable | Dinosaur Party Pack
Printable | Keep Calm - I Have Girl Scout Cookies
Handmade Holidays | Magnetic Paper Dolls Tin
How To | Toilet Paper Tube Bunny
Summer Day Camp | Sun Paper Art
Summer Day Camp | Found Objects Mobile
Tippy Stockton Jewelry

Creativity kits for kids!

Daily Boutique Deals

Creative scrapbooking in minutes with Smilebox.

Archives

USFamilyGuide.com `

Creative Commons License
This work is licensed under a Creative Commons Attribution-NonCommercial-ShareAlike 3.0 Unported License.

© Copyright 2007-2014, Alanna George. All rights reserved. For permission to reproduce contents or images from this site, please email alannageorge@alannageorge.com.

I was a Design Manager in the scrapbooking industry until the birth of my first child. I then turned freelance designer, crafter and stay-at-home mom. I reside in Michigan with my husband and our four kids. Read More…

Get Posts To Your Inbox

Enter your email address:

Delivered by FeedBurner

  • About Me
  • Advertise
  • Disclosure Policy
  • Linky Parties
  • Blogroll

Copyright © 2018 · Alanna George | The Craft Nest · Swank WordPress Theme By, PDCD

loading Cancel
Post was not sent - check your email addresses!
Email check failed, please try again
Sorry, your blog cannot share posts by email.